This Install Guide is suitable for JMRI versions 2.14 and earlier - for versions 3.0 and later, refer to the new Windows Install Guide.
Using JMRI requires a combination of hardware (in this case running Windows), Java software and a JMRI download for a specific version.
Version 2.14.1 requires Java 1.5 (or 1.6 if you wish for drag & drop).
Version 2.5 requires Java 1.5 or later.
We have had a report that a 100 MHz Pentium is too slow to use, and another that a 120 MHz Pentium II is fine, so somewhere around there is the minimum machine configuration, but it's important to have enough memory. We recommend you have at least 96 MB of memory for Windows 98, and 128 MB of memory for Windows 2000 or later. Having 128 MB or 256 MB respectively would give better performance. For the more complicated programmer screens, a display with a resolution of 800x600 or larger is strongly recommended. Note that used PC hardware is available for very little money; it might be cheaper to buy a used computer than to update your existing one.
You need to have Java 1.5 or later installed on your machine. We test with JRE 1.6 and recommend you use it or a later version.
If
you don't yet have Java installed, or you have an older version,
you can get installers from Oracle
by clicking this button:
![]()
or by going to http://java.com/java/download/index.jsp.
You must run the Java installer (or have previously done so) before running the JMRI installer in the next step, or it will issue an error message and stop.
Oracle offers both an "online" and an "offline" installer for the Java Runtime Engine (JRE). The online installer is about 1.5 MB, but needs an Internet connection to complete the install. The offline installer is about 20MB, but includes everything.
As the size of software you can download from the Internet has increased, distributors have looked for ways to decrease the time it takes to do this. Since a software package may include features a user doesn't need or want, one way to decrease the time is to make the installation "live". You initially download a small program, which is an Internet installer. When you run the program you are asked what components of the package you want to install. Only those components are downloaded and installed.
Here's what java.com has to say about this:
Saves download time if installing only some of the features. This install first downloads and runs a small program that prompts the user for options to download and install. The user must be connected to the Internet in order to complete this installation. Includes support for additional languages, fonts and media. This choice downloads and installs Microsoft Windows Installer 2.0 if not already installed. If you are behind an authenticated proxy server, you must use the Windows Offline Installer instead. Before making this choice, turn off any download managers, other than the Sun Download Manager, if you are using it.
This downloaded file includes everything required to perform a complete installation. It can be copied to a machine that is disconnected from the network and executed to perform a complete or custom install. Includes Microsoft Windows Installer 2.0 and support for additional languages, fonts and media. Use this installer if the normal Windows Installer does not work.
Download a version of JMRI, either the latest production version, or a "test version". Since the version numbers change with every release, this link takes you to the general JMRI download page, where you can select whichever version you like.
The JMRI project is continuously adding features, bug fixes, examples and tutorials to the release, and so new "test" versions appear every couple of weeks. You may find one of these has features that you really want. These are announced in the "JMRI users" Groups.io discussion group at https://groups.io/g/jmriusers.
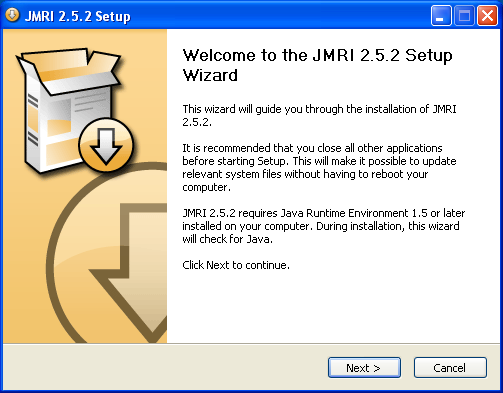
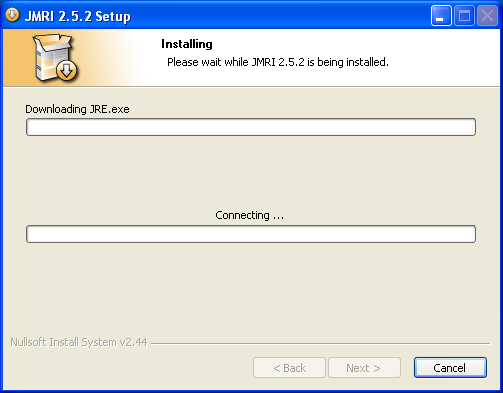
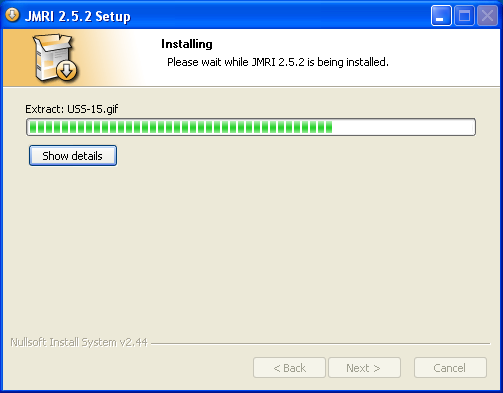
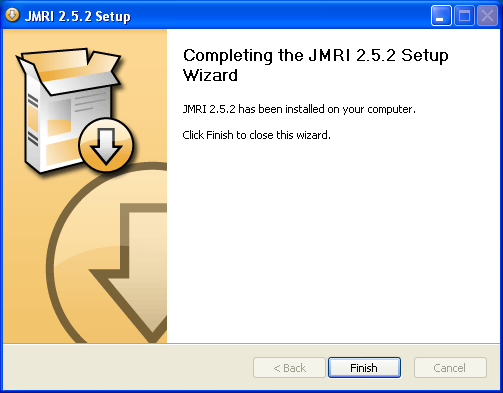
It will ask you to read some licensing information, and then install the needed libraries, plus add a "JMRI" program group to your Start menu and put a shortcut to the DecoderPro program on your desktop. Th installer for version 2.5.2 will present the following screens:
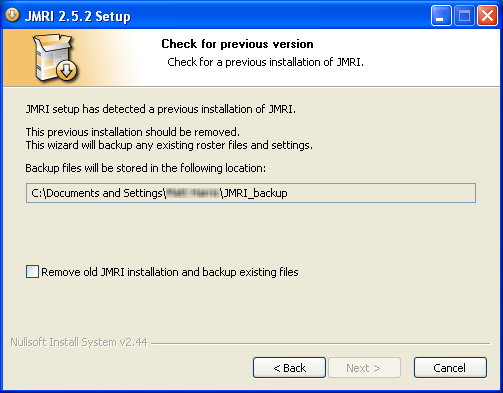
It will then check to see if a previous version of JMRI exists, backup any Preference, Roster and other settings and, if necessary, uninstall the old JMRI version.
or
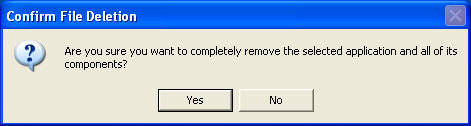
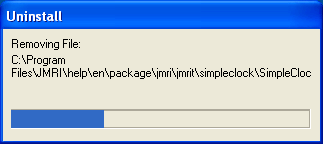
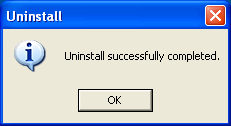
Uninstall of version 2.5.1 or earlier:
Initial confirmation
Uninstaller progress
Uninstaller complete
In some circumstances, the removal of version 2.5.1 or earlier is not successful:
Uninstaller failed
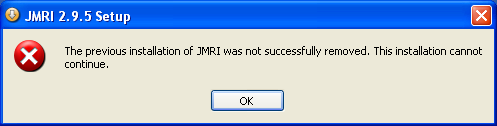
In such cases, it is necessary to download and run the following file and then re-run the installer:
RemoveOldJMRIUninstallEntry.exe
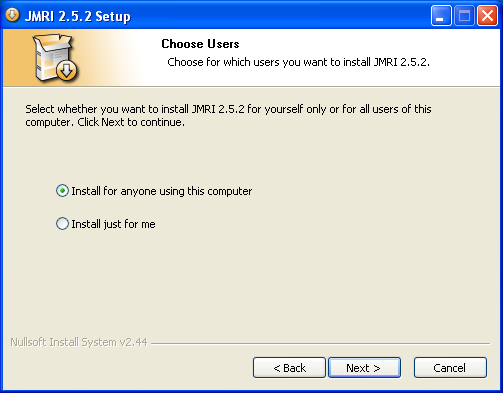
If supported by your Windows version and depending on the permissions of your user, the installer may ask you to choose to install JMRI just for yourself or for all users of the computer.
The installer will now present a list of the components to be installed.
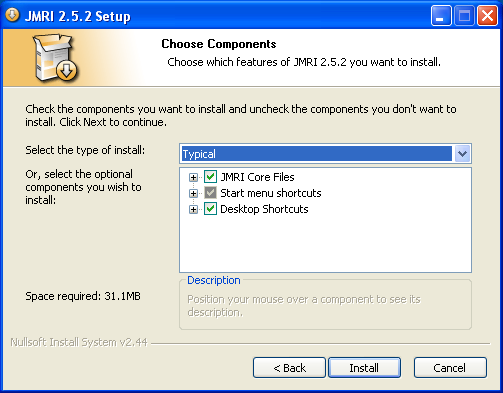
This will install JMRI to the default location, place shortcuts for DecoderPro and PanelPro on the desktop and create a JMRI Start Menu folder containing shortcuts for typically used JMRI programs.
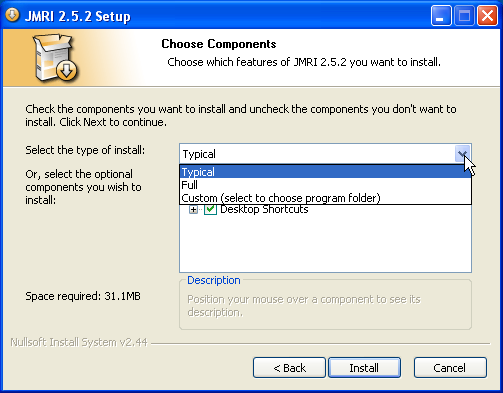
If you wish to change where JMRI is installed, change the install type to 'Custom (select to choose program folder)'.
It will check for a suitable version of Java on your computer and, if required, will connect to the internet to download the most current version for your computer. (For an offline installation, refer to the offline installation notes below).
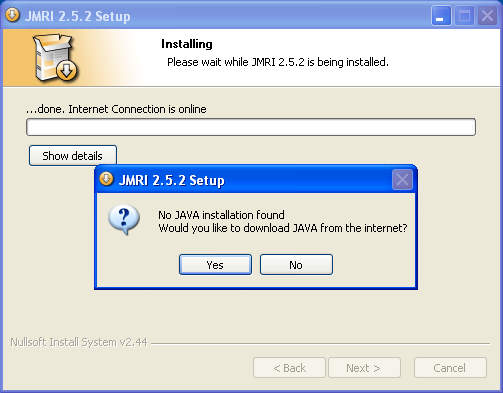
Downloading java
Once existence of a suitable Java Runtime Environment has been confirmed, it will then install the needed libraries, plus add a "JMRI" program group to your Start menu and put shortcuts to the DecoderPro and PanelPro programs on your desktop.
 Depending on what it wants to display, JMRI can open up very large
windows. Generally, JMRI uses the size of the screen and
information about fixed things like the start bar to decide the
maximum size for an opening window so that e.g. the corners can't
be reached to resize the window.
Depending on what it wants to display, JMRI can open up very large
windows. Generally, JMRI uses the size of the screen and
information about fixed things like the start bar to decide the
maximum size for an opening window so that e.g. the corners can't
be reached to resize the window.
Depending your Windows display operation, large JMRI windows will either resize to stay on the large part of the screen, clear of start bars and menu bars, or will be displayed at the full size of the screen, appearing under the start bar and menu bars.
This is controlled by the Taskbar and Start Menu Properties control panel. JMRI windows can open to the full screen size if the 'Keep the taskbar on top of other windows' option is de-selected. Also, they can open to the full screen size if the 'Auto hide the taskbar' option is selected
DecoderPro may encounter problems if the serial port used to connect to the layout shares an interrupt with another serial port. Typically COM1 and COM3 share an interrupt, as do COM2 and COM4. In particular, some systems are unable to communicate (and may experience a lockup) when the layout's serial port shares an interrupt with a port used for a serial mouse. Please make sure that the serial port connected to your layout does not share an interrupt with another serial port.
With Windows XP, your serial port parameters might not be properly set for hardware flow control. To fix this, right-click on My Computer and select Properties. Go to the Hardware tab and click on Device Manager. Open up the section that says Ports (COM & LPT). Right-click on the serial port you have the LocoBuffer hooked to and select Properties. Go to the Port Settings tab and set the options to 19200, 8, None, 1, Hardware. Click OK. Close everything. Restart JMRI and verify your connection settings.
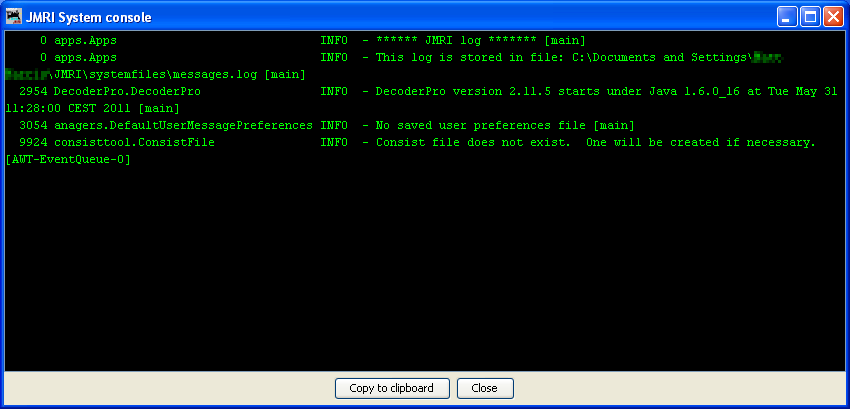
If asked for a copy of the error messages, you can usually get them from the messages.log file. If not, to make a copy of the log window:
Alternately, you can left click on "Mark" in that sub-menu. The menus will disappear. Then, left-click and hold while dragging the cursor over the text to be copied. Only the selected text will reverse colors with the background.
To get the window to stay open:
If you're asked for a copy of the error messages, you can usually get them from the messages.log file. If you can't find it there, make a copy of the log window: