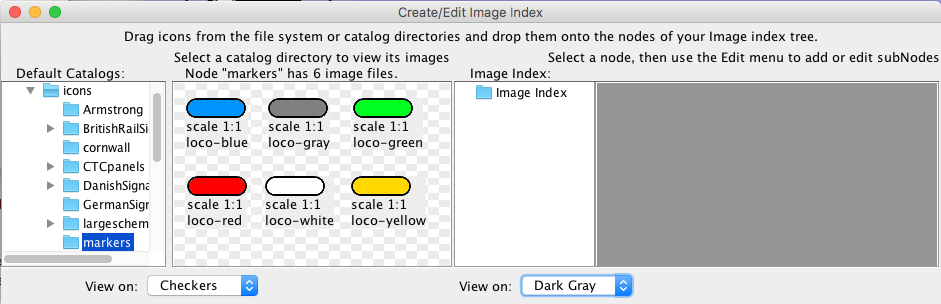
The window contains two panes side by side. The left side is your current Image Catalog. This is what the Icon Editors have been using to change icons. The top panel of this pane consists of one or more trees. The default tree is "Program Directory", the catalog of all the image files downloaded with the version of JMRI you are using. These are files that were encapsulated in "jmri.jar". Another default tree may be "Preferences Directory", the catalog of all the image files contained in the "resources" directory in your JMRI preferences directory. If you have not created a "resources" directory in your JMRI preferences directory you will not see this tree. Other trees that you may see are those that you have installed after using the Open File System Directory menu item in one of the Icon Editor windows and pressed the Add to Catalog button there. (The "Add to Catalog" button does not appear in this window.) Next to each tree is a "Preview" pane that displays the images found in any node that you have selected from one of the above trees. "Nodes" are the folder icons that appear when you click on the handle to the left of a folder icon. Clicking on a node will open a pane that displays the icons contained in the node.
The "Preview" pane has a label that states how many image files are referenced in the node. Beneath each image (icon) is a label that states the "scale" at which the image is displayed. since 4.9.7 Below the icons are "View on:" combo boxes that allow you to choose a background for the icons. This may help you determine what parts of the icon are opaque and what parts are transparent.
The right side is the Image Index you may edit. It is similar to the left pane in that the left half shows the tree of the Index you are creating. Likewise, the right half displays the images found in any node of the tree that you select. Initially, there will be just one node labeled "Image Index". You are able to add additional nodes to this node by using the menus below.
The File menu shown with the Create/Edit Image Index pane contains three items:
The Edit menu has three items:
Use "Drag and Drop" to copy an icon from either the Catalog pane (left pane) or a File Directory window. Press the mouse button down on any icon appearing in the "preview" panel of either of these windows to "drag" the icon to a node of the Image Index tree (right pane). (Dragging means holding the mouse button down as you move the mouse pointer to a node of the Image Index tree.) Actually, it is only the reference to the location of the icon that is saved by the Image Index. As long the file remains in place, it will be displayed by the Catalog, the Image Index and your Panel (if you have installed it there).
Pressing and releasing (clicking) the mouse button over an icon in the preview pane of the Image Index activatea a "pop-up" menu. Pop-Up menus display the name and reference location of the icon. The pop-up also provides items to modify icons in the Image Index.
Note: the "preview" pane will only show these changes after leaving the node and then returning to the node.